Candles are a passion of mine. There’s something about a great candle that grounds me and makes anywhere I am feel like home. For years now I have been wanting to learn how to create my own candles and my candle obsession turned into divine synchronicity when what popped up on my Instagram feed but this beautiful little candle company called Flores Lane. They had posted a photo of their candle making process and something inside my gut gave me a little nudge to comment on the photo. I casually explained that I wanted to learn, never really expecting an offer for them to teach me, but after a few DM’s, Trish Baden, the creator of the company and may I add one darling of a human ended up at my house and I was up to my elbows in wax. The whole process was surprisingly not too complicated. Although, there are a few tricks of the trade that take your candles from good to amazing and of course we have included them below.
I am now truly obsessed with creating candles, so much so that I handmade a gigantic batch of delicious smelling candles for my family and friends for the holidays. I’ve posted my candle making adventures on our SOE Insta-Story a few times which led to many of you asking if I would share the process with you so you could create your own. Well, you got your wish! Trish was kind enough to break everything down, from what to use, where to find it all and the step by step process on how to begin your own candle making adventure. Take your time, play around with scents and most importantly, have fun creating! I’m sure, whipping up beautiful candles will bring some of you as much joy as it has me.
En-joy!
Supplies/ places to buy:
Places to purchase:
- Cost effective + options: Amazon.com
- Specific needs/ supplies: candlescience.com
- In-person: Michaels, Hobby Lobby or other local craft stores – (note: joann fabrics does have some supplies, but not wax or wicks)
Supplies:
- Metal pitcher
- Heat source – this is completely optional but with options comes risk lol
- The classic stove-top double boil: think melting butter or chocolate. You need to boil water in a pot – then put the pitcher inside of another pot on top sitting inside the other pot (double boiling). This can get really messy and after a while a pain to clean up- I did this 2 times before I decided it wasn’t sustainable!
- Hot plate: these are nice because you can put paper under the hot plate to protect the surfaces from wax.
Wax:
Key: start small because shipping is expensive. You can also get 5-10 pound packs at Michaels stores!
- Soy wax is natural, burns clean, and for twice as long as paraffin candles.
- Paraffin wax is a petroleum by-product created when crude oil is refined into gasoline – asphalt is extracted before paraffin in the refining process, which is pretty wild; but it is that combustion which causes the black plumes of smoke and ash to collect throughout your house (or if you burn a paraffin candle close to a wall, it will leave a black haze).
- Beeswax: beeswax is perfect for when you need to make pillar candles and want to stick to an all natural blend! The only issues with beeswax are: it’s costly (because bees make it) and it has a natural (nice) scent which can interfere with any fragrance you’re trying to achieve.
- Coconut wax: do you have coconut oil in your home? Because coconut wax is similar in makeup, it tends to be soft at room temperature if it’s not blended with soy or paraffin to offset the melting point.
Containers & wicks:
- Mason jars are a safe way to start experimenting with candles because they can sustain high temperatures- this is especially important when testing to see what wick sizes fit with which container sizes. For example, (this mason jar- I used as my first candle jar LOL!!!! It’s the very first flores lane model – it’s how this ALL started ☺)
This mason jar works well with 2 wicks with 2.5 inch burning radiuses
More container advice:
-
- Make sure the top is open and has room to breathe. For reference: the mason jar (above) has a slight bend toward the opening- this is about as “closed” as the flame can be without hurting the burn.
- Jars with lids
- Mugs
- Tea cups
Wicks: Here’s a variety pack that I recommend picking up if you’re trying to make different sizes, multiple wicks, and etc.
Notes about wicks:
- It’s super important to make sure the wick is made with an all natural cotton fiber with a beeswax coating.
- The metal base used to be made of lead – just be sure to keep an eye out for anything that doesn’t look right – aluminum is perfect!
- Burn radius:
- Every wick has a different thickness which causes a different size flame when it’s lit- the size of the flame will directly correlate with how fast the candle will burn and the wax melting to the edges of the glass or not.
- R&D is always needed before properly finding the perfect wick, so if your candle tunnels the first time around, go one size up in wicks or consider adding another!
- Glue dots or glue gun to affix the wick to the jar- I recommend glue dot because it’s cleaner (glue guns tend to leave strings and it’s just a mess with the wax).
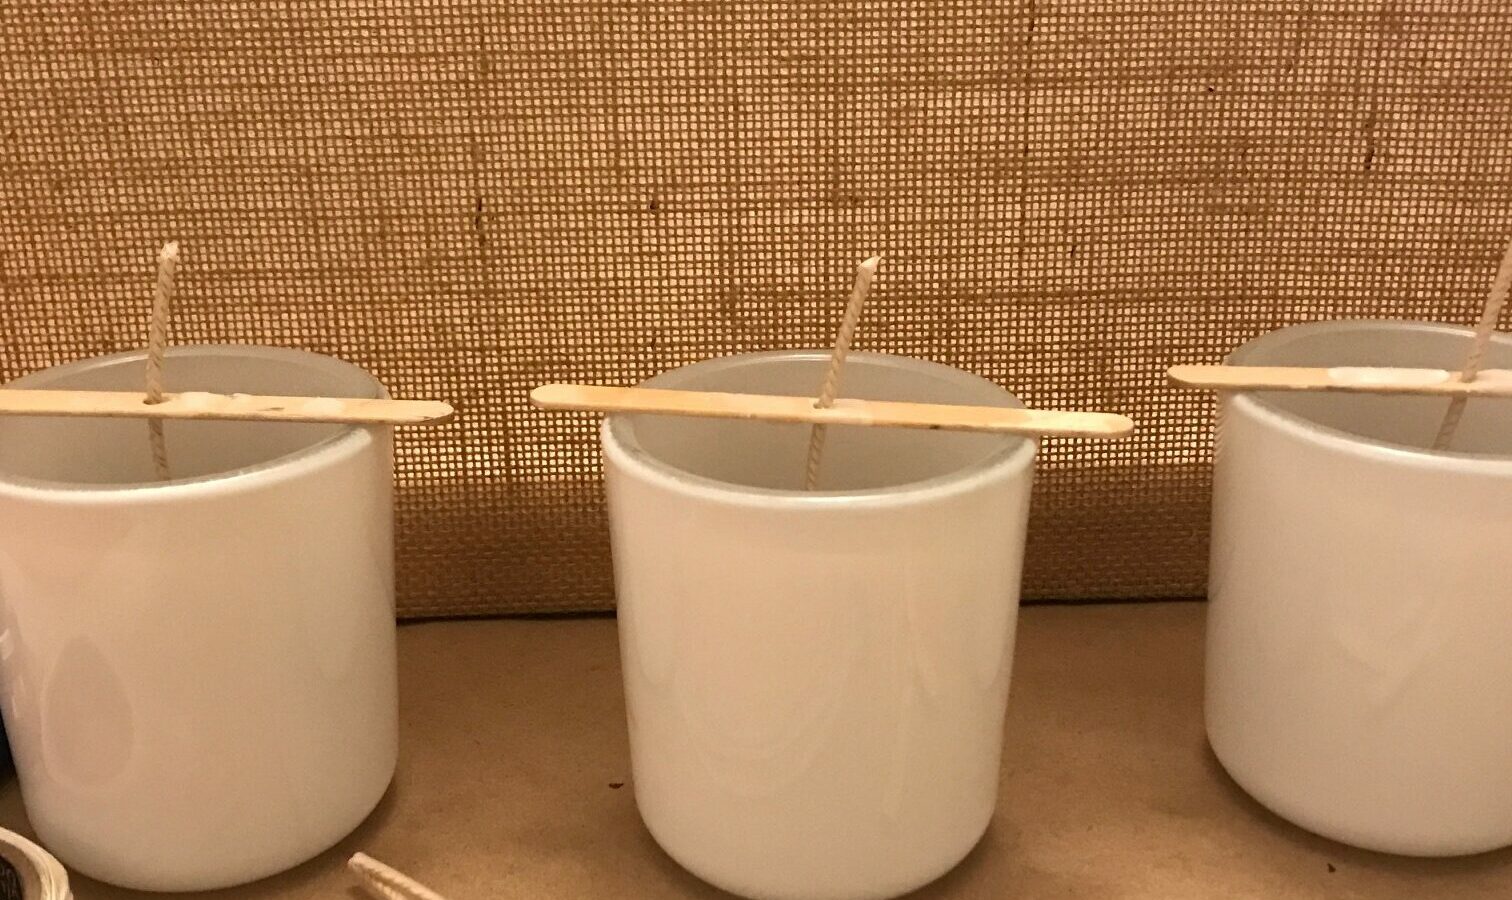
- Wick holders – popsicle sticks, or metal placeholders:
Set up: flat and dry area that can be easily covered by kraft paper, plastic wrap, garbage backs, newspaper, etc. tape down if needed.
The process
- Pour wax into metal pitcher/ heat to160°F to 180°F.
- Once flakes melt into liquid wax, let cool (if it overheated!).
- Add fragrance – check fragrance flash point (usually located on the bottle) to see at what temperatures the fragrance should be added to the mixture, prior to pouring
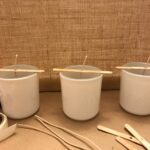
- While the wax is melting, prepare the jars by affixing the wick metal portion to the bottom of the jar. Pro tip: make sure you space the wicks out evenly if you’re using multiples to ensure they can breathe. You can tell how the air flow is on the candle by the way the flame either rests or bounces once it’s lit. the more stable the flame, the more even the burn*
- Stabilize the wick with the stick (metal or wood)- and then cut the end of the wick leaving 1 inch above the stabilizer.
- Pour the wax in, let it sit about 2 (or more) inches away from the nearest cooling candle to ensure consistency.
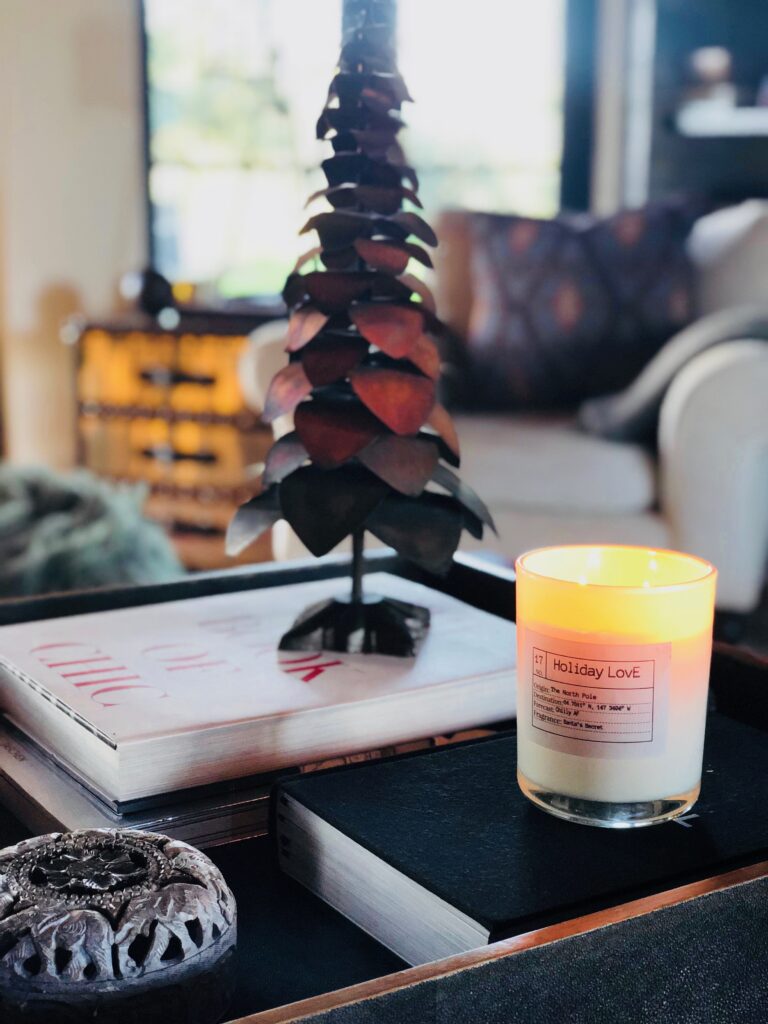
After it’s dry- sometimes the candle will crack or even get pockets of air that get caught inside causing them to collapse- (If your candle looks like cottage cheese, you’ve either added too much fragrance, or overheated it.) – you can create a finished look by heat gunning the top or using a hair dryer that has a heated feature. Sometimes, I even pour a little bit of new wax on top to seal it in if there’s space in the jar!
Oops, you spilled. It happens!!
- Clothes, let it dry, pick off what you can, and then take an iron covered by a paper bag to the clothing effected and soak it up!
- Floors, marble, pretty much everywhere else: heat gun or hair dryer- just don’t hold it on any surface for too long!
Reusing the old jar or glass and there is excess wax? Put in the oven on low for 5-7 minutes (depending on how much wax is left) and wipe out with a paper towel. If there isn’t much left- use the heat gun to melt it!!
Picking a Fragrance oil or blend for your candle can be difficult if you have no idea what types of scents you like. I like to guide people into categories which usually lend themselves into selecting a series of scents and blends that they enjoy: Fruity, Floral, Musky, Woodsy, or Fresh.
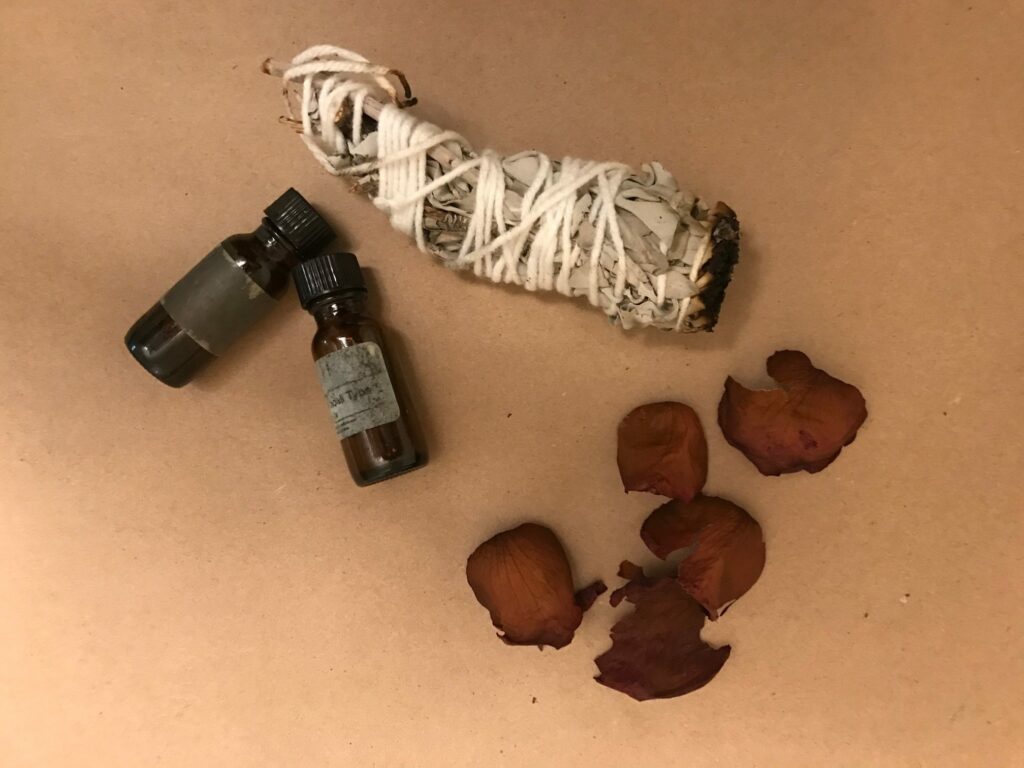
Examples:
Fruity:
- Orange
- Grapefruit
- Apple
- Berry
Floral:
- Rose
- Hydrangea
- Lily
- Magnolia
Fresh:
- Bamboo
- Cardamom
- Green Tea
- Lavender
Musky:
- Leather
- Black pepper
- Cinnamon
Woodsy:
- Pine
- Oak
- Walnut
- Palo Santo
If you have a favorite essential oil blend you like, do NOT directly blend into candle wax!!
First, if you have a blend you want to recreate, research the base notes in the blend and start there; blending with an essential oil can be tricky as they burn off quickly from a low flash point.
The “real” difference between an essential oil and fragrance oil is: essential oil typically contains ONLY plant oils whereas the fragrance oil has the essential oils blended with a carrier oil (like grapeseed or jojoba) to elongate the burn time of the scent.
Candle science has great blends if you’re looking for both basic and pre-blended scents.
For example: the Blue Spruce is an amazing pine scent – mistletoe has the same base scent as pine but a bit fruity notes in it as well.


😎
I’m totally trying this!!
That seems so extensive lol can you do a short time lapse video to show the process???